plan

Key Features

Feature
Description
Fast Setup
Get started quickly with minimal documentation—no extensive prompts or full codebases needed
Comprehensive Testing
Covers functional, security, performance, error handling, and edge case testing automatically
Smart Reports
Detailed outputs with error types, root causes, and recommended fixes
Natural Language
Provide feedback and adjustments using plain English—no technical commands required

Getting Started

To begin using TestSprite for back-end testing, follow these steps:

Step 1: Set Up Your API Testing Environment

plan
1

Create New Test

Navigate to TestSprite Dashboard and click Create a Test from the sidebar
2

Name Your Project

Enter a project name - you’ll be automatically directed to Backend Testing
3

Provide API Details

Add your API information and natural language instructions to guide our AI testing
We highly recommend upload API documentation to help our AI better understand your APIs
plan
GenRex API Reference - Shows how comprehensive API docs help our AI generate better tests

Step 2: Review Generated Test Plans

You can expand each test type to view detailed scenarios and modify content directly to suit your specific needs.
plan
1

Review AI Generated Test Plan

Our AI creates a comprehensive test plan covering multiple test types for your APIs
2

Select Test Categories

Choose which test categories and cases to implement, or select all for comprehensive coverage
AI generates these test types automatically:
Test Type
Description
Core Testing
Functional testing, error handling, and response content validation
Security & Auth
Security testing, authorization, authentication, and boundary testing
Performance
Load testing, performance analysis, edge cases, and concurrency testing
Best practice: Select all available test cases to ensure comprehensive coverage. You can also add custom test cases using natural language.

Step 3: Run Your Tests

plan
1

Initiate Test Execution

Click Next to start running your selected test plan
2

AI Generates & Executes

TestSprite automatically generates test code, executes tests, and analyzes results

Step 4: Review Test Results

plan
1

View Execution Report

TestSprite displays detailed insights and actionable recommendations to refine your software
2

Interact with AI Chatbot

Provide feedback, request adjustments, or ask questions about test results
Detailed Analysis for Failed Tests:
Feature
Description
Error & Trace
Clear issue description and full code stack traceback showing exactly where problems occurred
Cause & Fix
AI-powered root cause analysis with suggested solutions and code snippets for quick resolution

Advanced Configuration

Using Natural Language for Questions and Test Adjustments

Ask questions or suggest test adjustments using natural language—no specific format required.
plan

"Test POST /orders with invalid parameters and expect a 400 error code."
TestSprite automatically interprets and updates the corresponding test case, making testing smoother and more efficient.

Examples

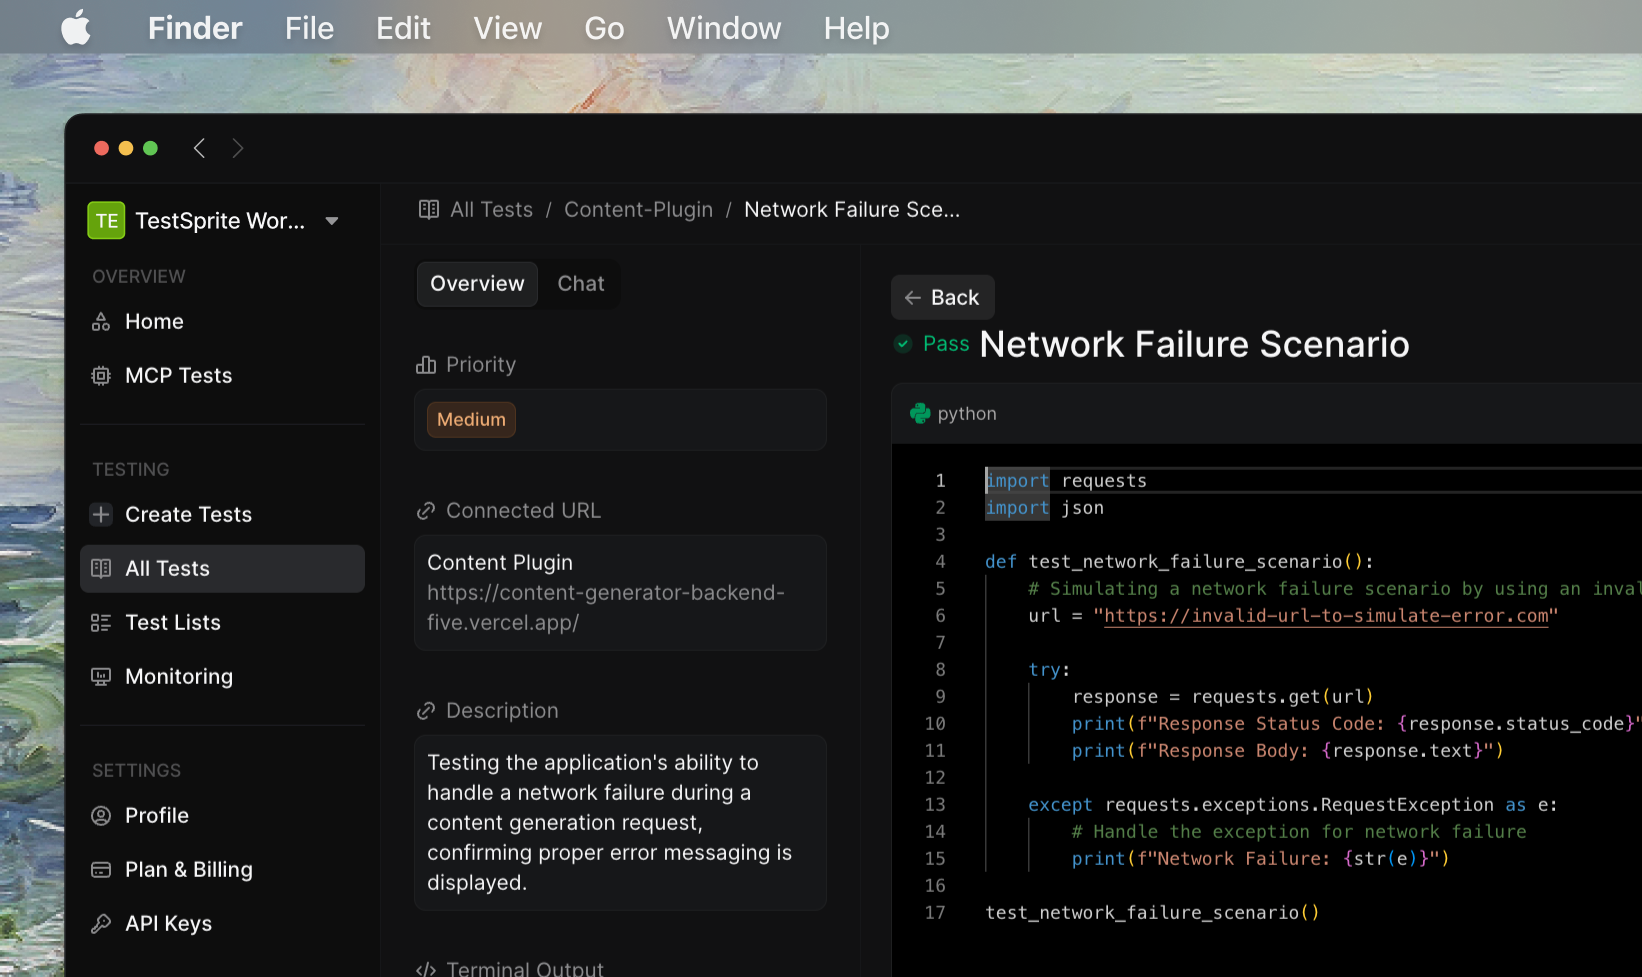
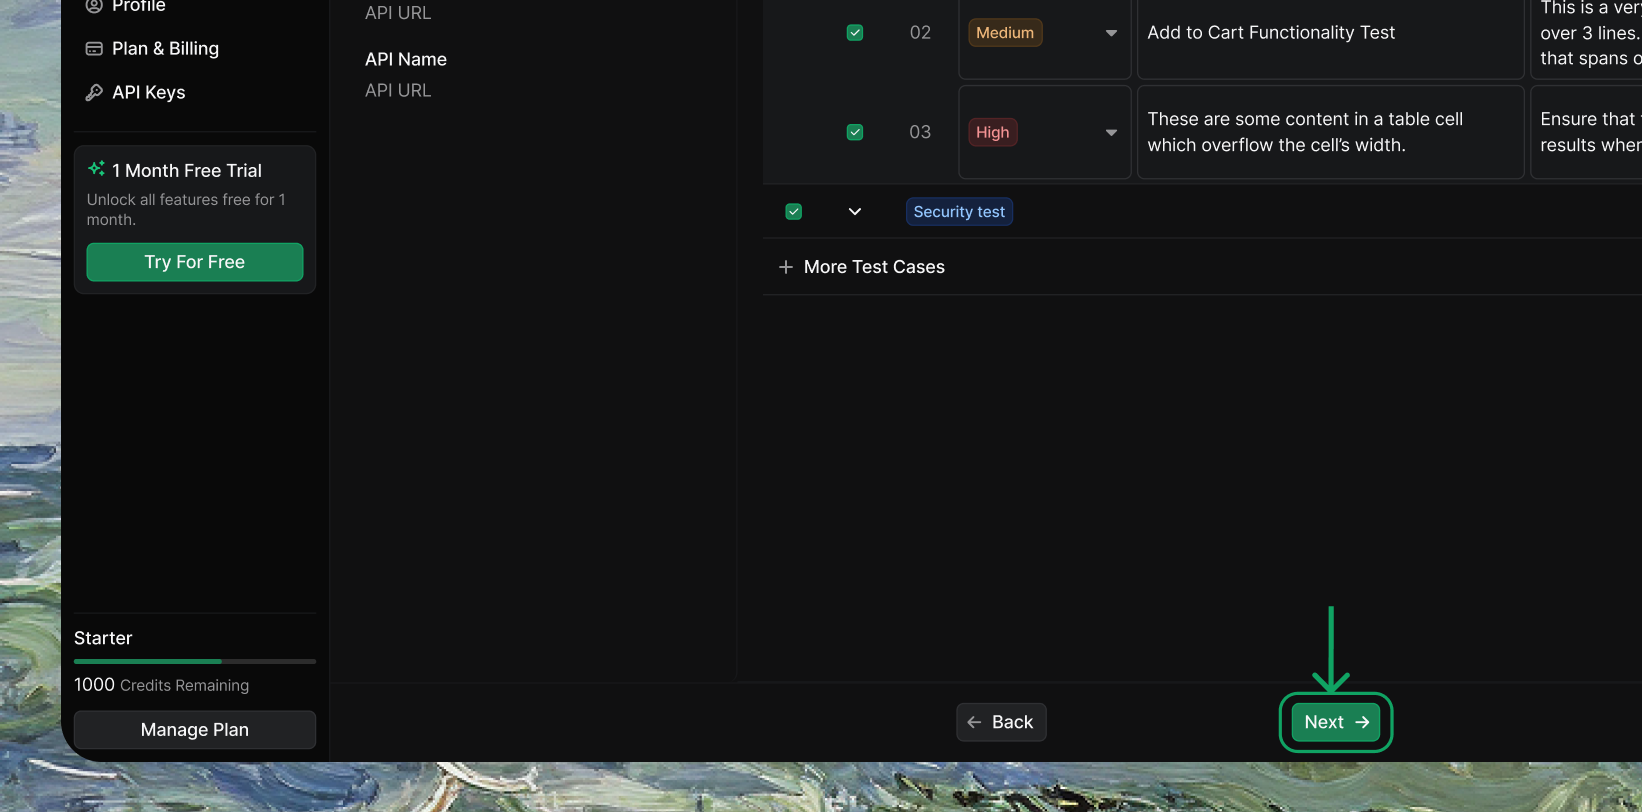
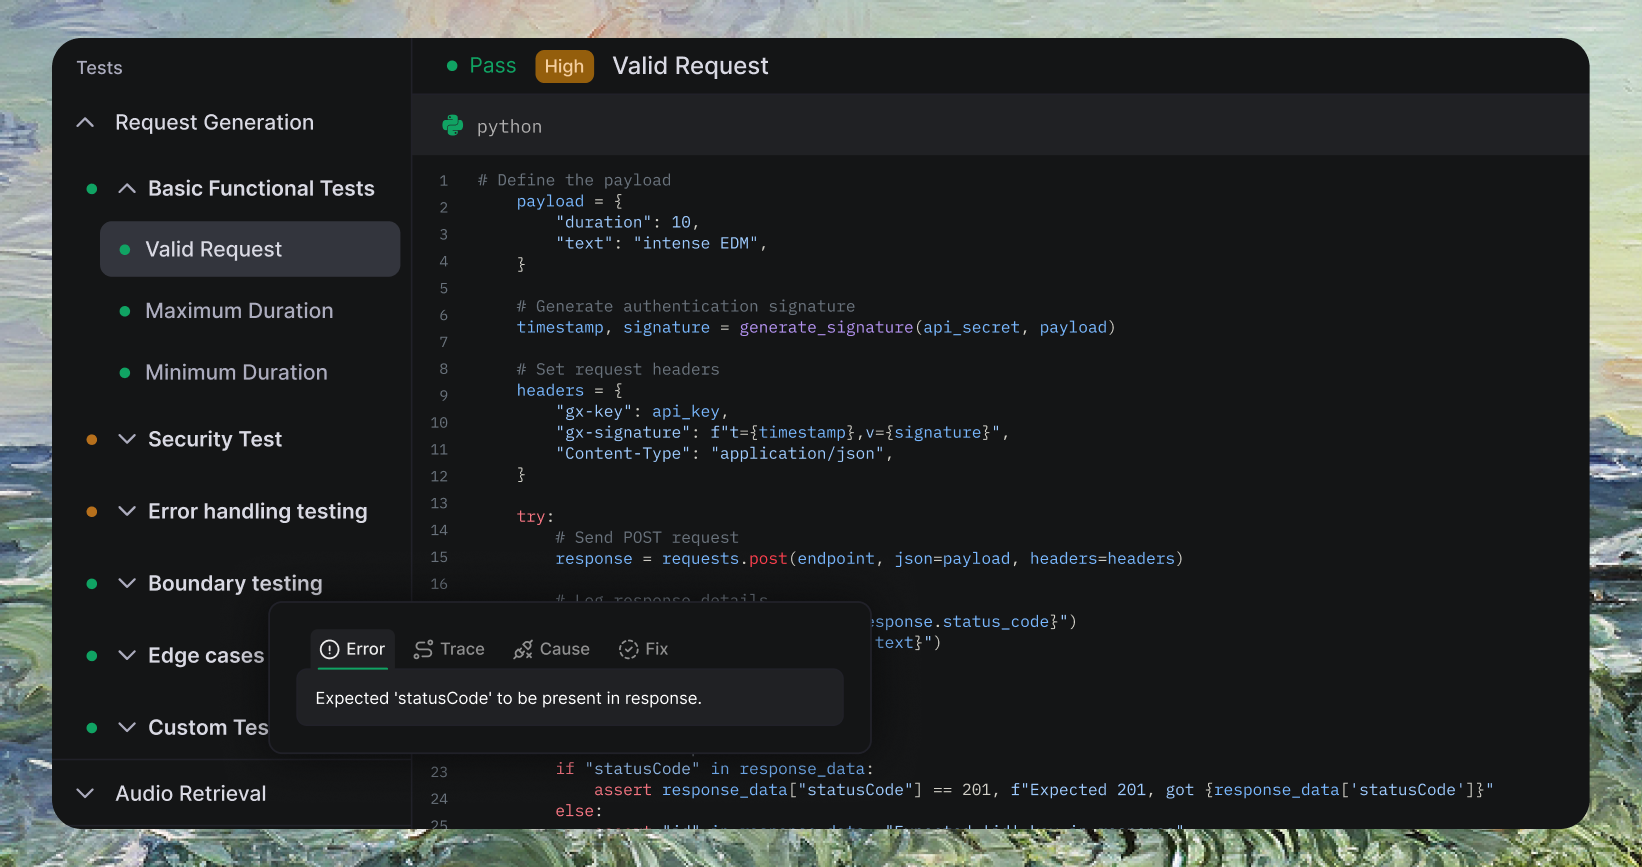
See what TestSprite’s AI generates for your APIs: TestSprite automatically generates comprehensive security tests like this one that validates API signature handling:
Expandable Sample Security Test
import hashlib
import hmac
import json
import pytest
import requests
import time

# Define the API URL and credentials (use environment variables for added security)
api_url = "https://your-api-url.com/v1/text2music/generateMusic"
api_key = "hide_for_privacy_protection"
api_secret = "hide_for_privacy_protection"

def create_signature(api_secret, data_to_sign):
    return hmac.new(api_secret.encode(), data_to_sign.encode(), hashlib.sha256).hexdigest()

def test_invalid_gx_signature():
    # Construct the payload
    payload = {
        "duration": 10,
        "text": "intense EDM",
    }
    payload_json = json.dumps(payload, separators=(",", ":"))

    # Create correct signature
    timestamp = str(int(time.time() * 1000))
    data_to_sign = f"{timestamp}.{payload_json}"
    correct_signature = create_signature(api_secret, data_to_sign)

    # Tamper the payload
    tampered_payload = payload_json.replace("intense EDM", "soft jazz")

    # Use correct timestamp and an intentionally incorrect signature
    tampered_signature = create_signature(api_secret, f"{timestamp}.{tampered_payload}")

    # Create headers with tampered payload
    headers = {
        "gx-key": api_key,
        "gx-signature": f"t={timestamp},v={tampered_signature}",
        "Content-Type": "application/json",
    }

    # Send POST request with tampered payload
    response = requests.post(api_url, data=tampered_payload, headers=headers)
    
    # Parse the response
    response_data = response.json()

    # Assertions
    assert "statusCode" in response_data, "Expected 'statusCode' in the response"
    assert response_data["statusCode"] == 400, f"Expected statusCode 400, got {response_data['statusCode']}"

test_invalid_gx_signature()
This test validates that your API properly rejects requests with invalid signatures, ensuring security integrity.