

Not every plan includes schedules. Compare plans on the pricing page.
Creating a Schedule
You need something to run (an existing test list or a whole project) and the email addresses that should get the results; schedules notify by email.1
Navigate to Test Schedules
Go to Automation → Test Schedules and click New Schedule.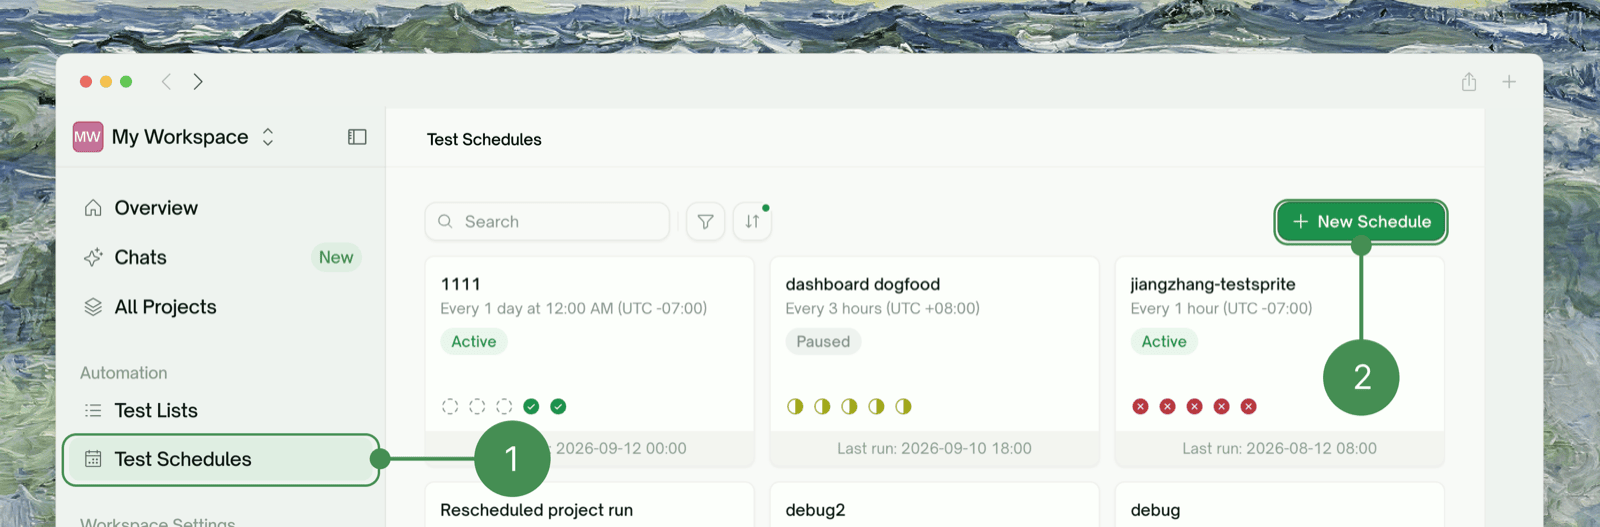
2
Choose what to run
Pick a test list or a project. See What You Can Schedule.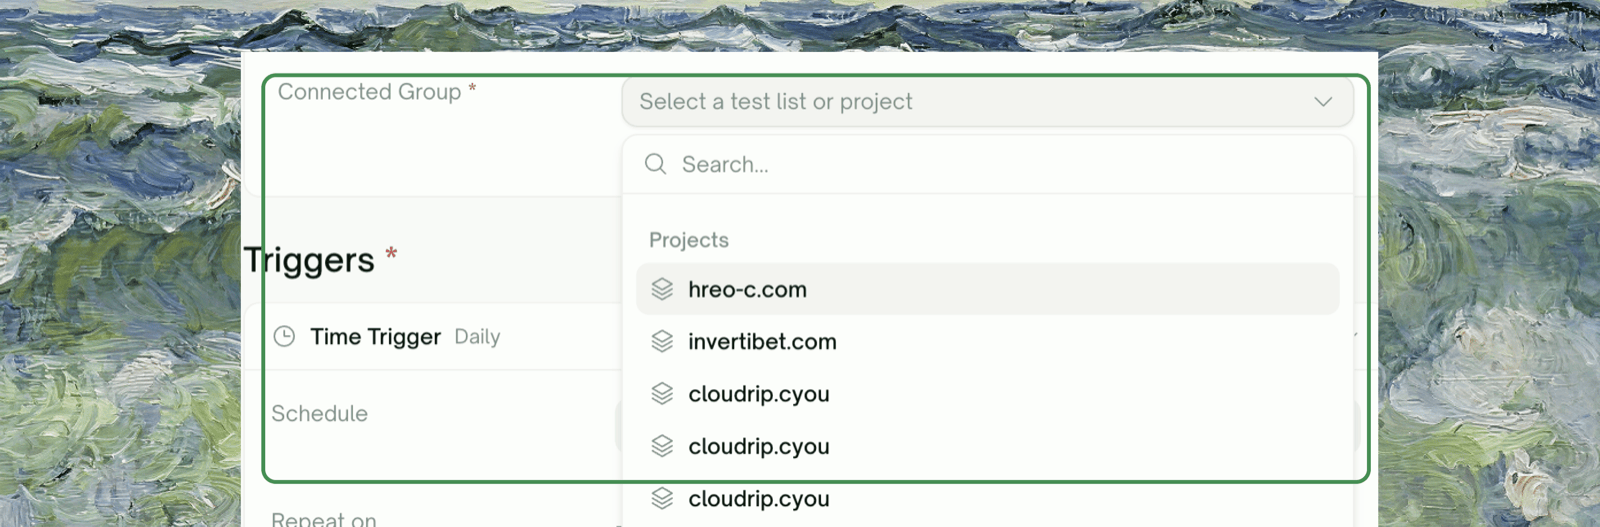
3
Configure the schedule
Set the frequency (hourly, daily, weekly, monthly), the times and days, the timezone, the time window the schedule is active for, and the recipients who get the result email.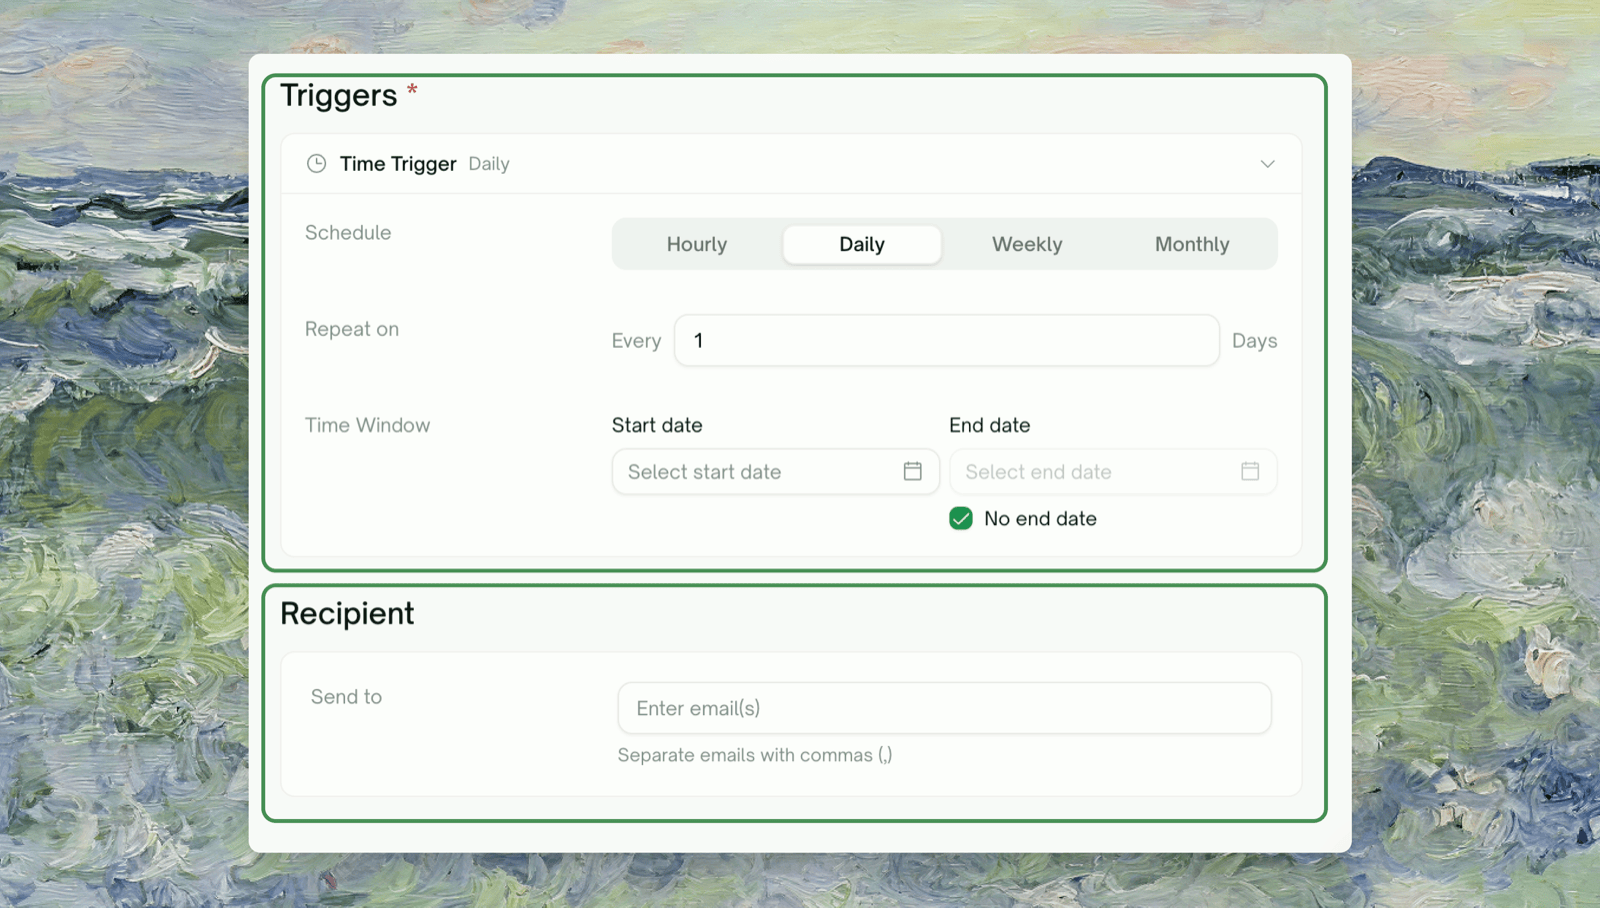
What You Can Schedule
A schedule points at one thing, chosen when you create it. The target picker has two sections, Test Lists and Projects.
Scheduling a project is the lower-maintenance option: tests added to the project later are picked up automatically, whereas a test list only runs the tests you put in it.
A schedule’s target is fixed once it’s created. You can rename a schedule and change its cadence, time window, and recipients, but not re-point it at a different test list or project. To change the target, create a new schedule.
Schedule Configuration
Frequency Options

- Frequency Options
- Example Configurations
Time Window
- Start date and time: when the schedule begins. A time that has already passed doesn’t fail; the schedule simply starts from now.
- End date: optional. Leave End date blank, or tick No end date, and the schedule runs indefinitely. Set an end date for a schedule that should stop on its own, such as one covering a release window.
Timezone Settings
Every time you enter is interpreted in the timezone selected on the form. Each zone in the picker is labelled with its UTC offset, for example (UTC-08:00) Los Angeles (USA).
Who Gets the Results
Schedules notify by email. Recipients are part of the schedule itself: the Send to field on the create and edit form takes one address or several, separated by commas.- It is a result report, not a failure alert. It goes out when a run finishes, passed or failed, with the pass and fail counts. The only run that sends nothing is one with no tests to execute, such as an empty test list.
- If Send to is empty, no result email is sent at all, even when the run fails. The only mail such a schedule still produces is the automatic-pause notice described below, which goes to whoever created the schedule.
Managing Schedules
The Test Schedules page shows each schedule as a card: its name, cadence in plain language, an Active or Paused badge, dots for the last five runs, and the date of the last run. Above the grid you can filter by Recurring and Schedule Status, and sort by Next Run. A schedule that has run past its end date still shows Active. If a schedule has gone quiet, open Edit and check its end date.Inside a Schedule
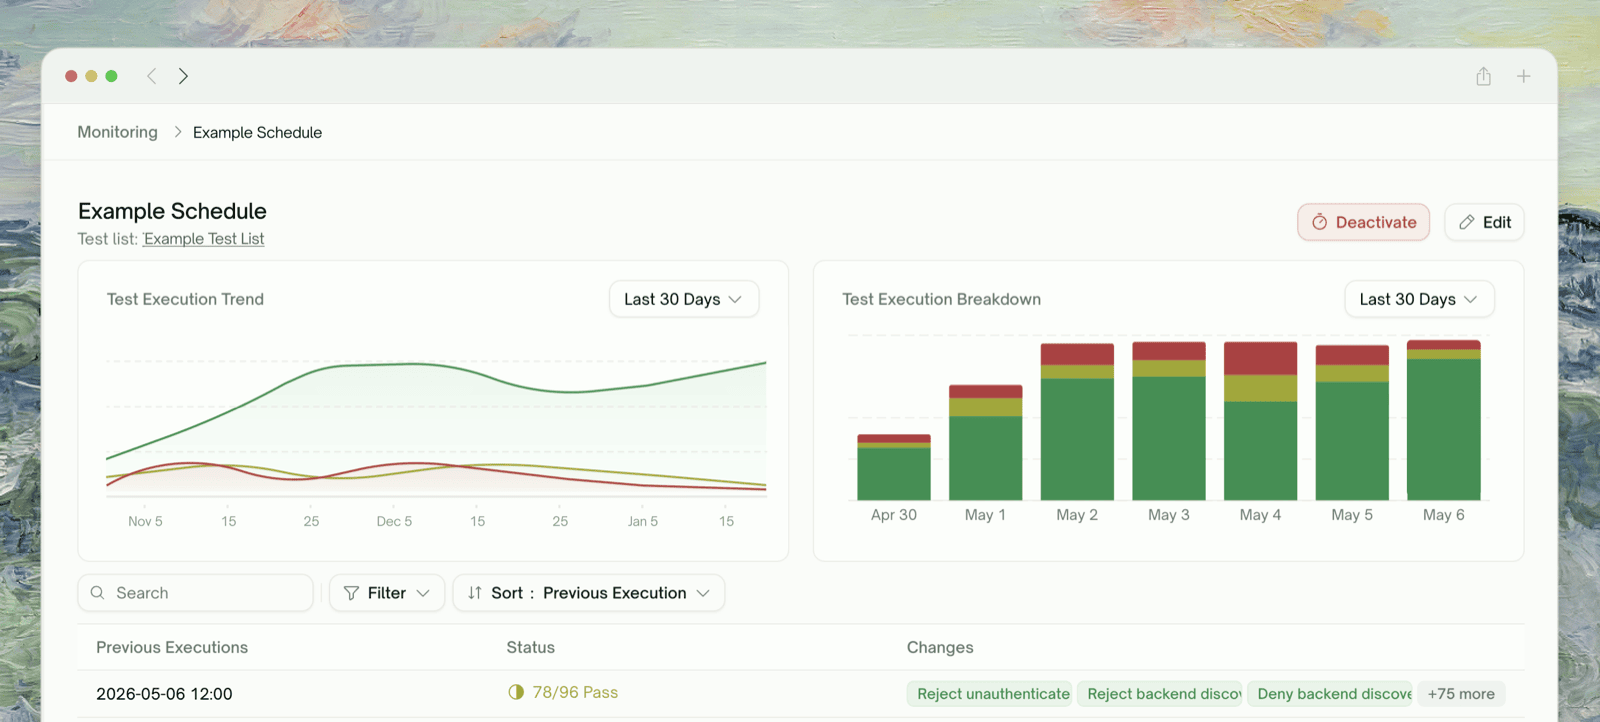
Open a schedule to see how it has been doing over time: two charts, then every run it has produced.
Click any completed run to open its full results and report, the same view you get from a manually triggered run.
The breakdown bars are bucketed by hour or day, so a schedule that runs more than once per bucket (an hourly schedule viewed over 7 days, say) shows the average of those runs in one bar. Use Previous Executions for per-run numbers.
Schedule Actions
Pausing and Re-enabling a Schedule
Pausing is done from the edit form, not the schedule’s menu. Open Edit, switch Status from Active to Pause, and save. The schedule keeps its cadence, history, and recipients. Switch back to Active and save to resume; the next run lands at the next matching time. A paused schedule still occupies one of your plan’s schedule slots. Delete it if you need the slot back.When TestSprite Pauses a Schedule for You
When a schedule is paused automatically, TestSprite emails its recipients (or its creator, if it has none) so the pause doesn’t go unnoticed.Ten runs in a row with nothing passing
Ten runs in a row with nothing passing
If 10 consecutive runs finish without a single passing test, the schedule is paused. This stops a schedule pointed at a dead environment, or at a login that has since changed, from running every night for nothing.A single passing test resets the counter, so an intermittently failing suite won’t trip it. Runs that execute no tests don’t count either way; a run that errors out before producing any result counts the same as a run with nothing passing.Fix whatever was failing, then re-enable the schedule from Edit → Status. Resuming clears the counter.
The workspace's plan no longer includes scheduling
The workspace's plan no longer includes scheduling
If the workspace moves to a plan without scheduling, or is suspended, its schedules are paused and the recipients are emailed. Nothing is deleted: restore the plan and you can re-enable them.
Not enough credits, or a payment that hasn't gone through
Not enough credits, or a payment that hasn't gone through
Neither pauses the schedule. That run is skipped and the schedule keeps its cadence, picking up again once the balance is topped up or the payment clears.
Where to Go Next
Test Lists
Build the collection of tests a schedule runs
Insights
Regressions and quality trends across runs