

Two ways to use the CLI
Both start with the same one-minute install.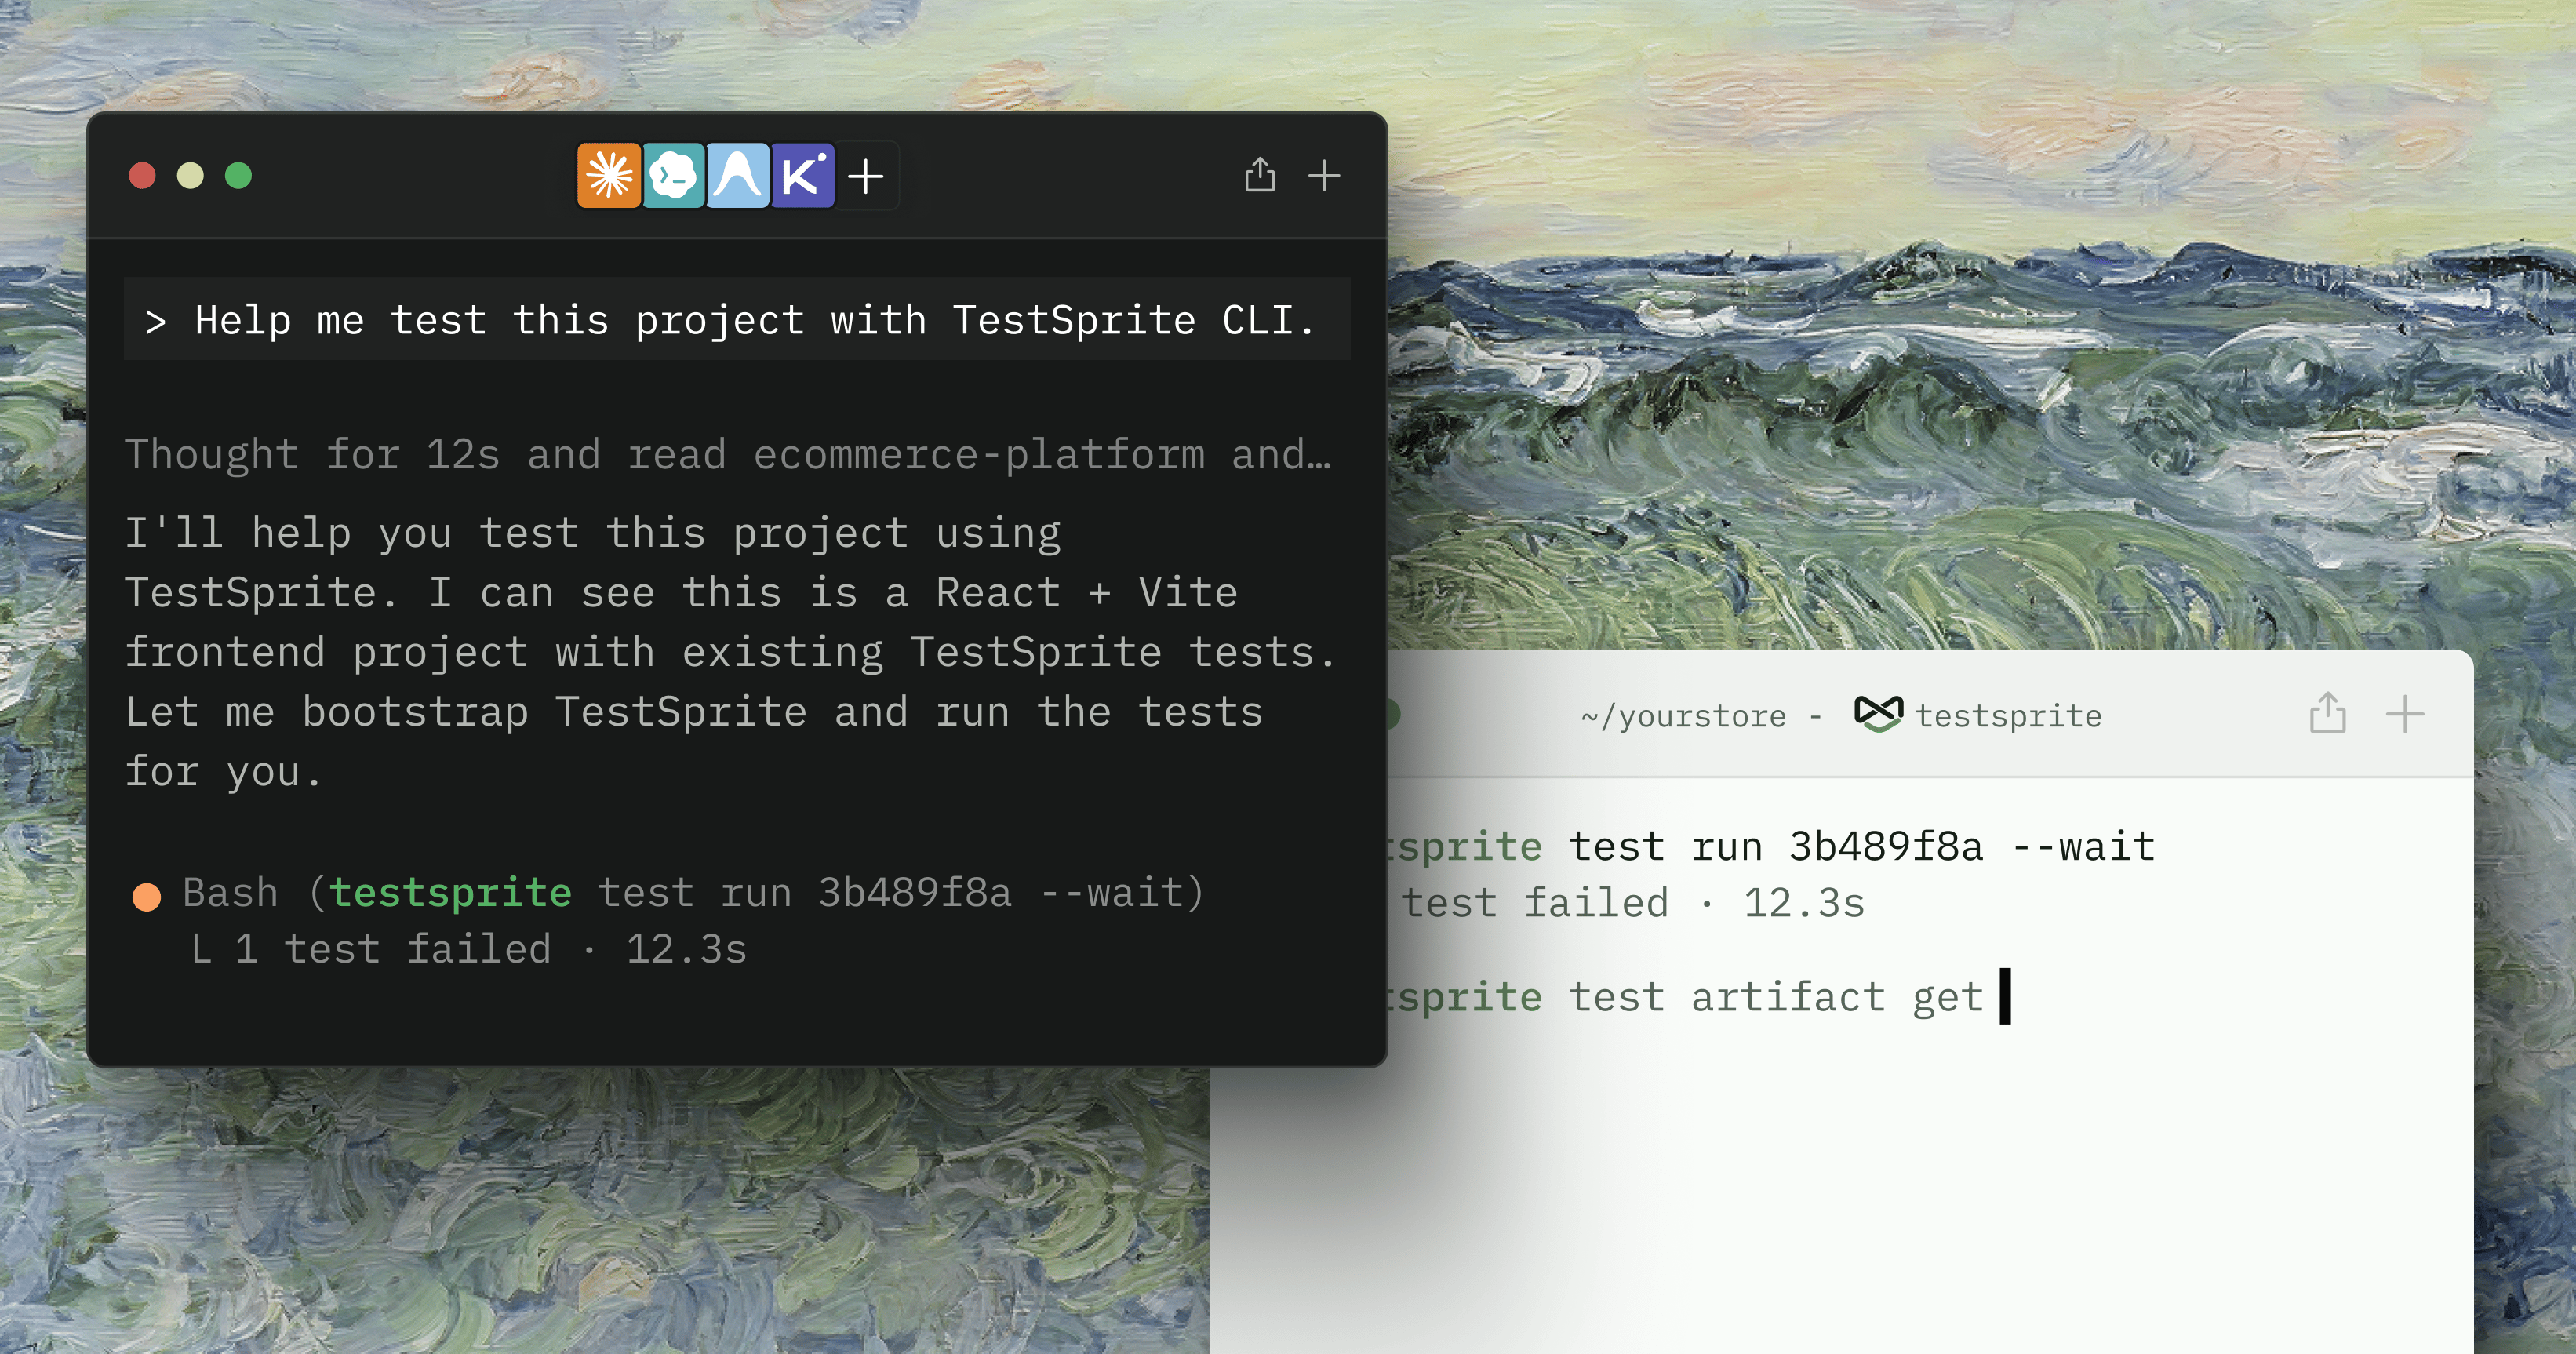
Step 1: Install and run setup
API Keys
Create one in the Portal under Settings → API Keys
Step 2: Run your first test
- With your coding agent
- From the terminal
1. Install the skills for your agent
Every prompt below is powered by these skills, so take five seconds to install them for the agent you use.
Coding Agent Integration
All supported agents and where each skill file lands
2. Say this to your agent
Open your coding agent in the repo and say:- Read your codebase to find the most important user flows (instead of blindly crawling).
- Ask you for your deployed app URL — and login credentials, if your flows need them.
- Create a TestSprite project and author a test suite (~8–15 tests with concrete assertions).
- Run the highest-value flows in the cloud, against your live app, with a real browser.
- Report back with pass/fail verdicts and dashboard links — and quote the credit cost before running anything more.
Have the URL and credentials ready; it’s the only thing the agent can’t figure out from your code.The CLI tests deployed
http(s):// URLs and rejects localhost. If your app only runs locally, use the MCP Server instead — it owns the tunnel that exposes your local app to the cloud runner.3. Make it part of your workflow
This is where the CLI earns its keep: thetestsprite-verify skill triggers every time your agent finishes a change — it finds or creates the covering test, runs it to a verdict, and won’t report “done” on an unverified change. Make it a standing instruction:4. Keep the agent on track
- Pin the project. Commit
.testsprite/config.jsonwith{ "projectId": "proj_8f0f6" }at the repo root so the agent never guesses which project to run against. - Costs stay your call. The agent smoke-runs a few tests, never the full suite — full-suite runs are always your explicit choice, with the credit cost quoted up front.
- Honesty is by design. If the agent can’t run a test (no credentials, no reachable URL), it says “shipped but unverified because X” rather than pretending.
Coding Agent Integration
What the installed skills do in detail, all eight agent targets, and skill health checks
Where to Go Next
Coding Agent Integration
All eight agent targets, install flags, skill health checks, and what the skills teach your agent
The Agent Loop
Why the loop is designed this way — self-consistent bundles and compounding coverage
Creating Tests
Plan files, code files, batch create, and dependency authoring
Command Reference
Every command, flag, and exit code in one place