Edit, refine, add, and delete test cases: change a test yourself or have TestSprite’s testing agent change it, batch-edit the plan, or regenerate it from your sources.
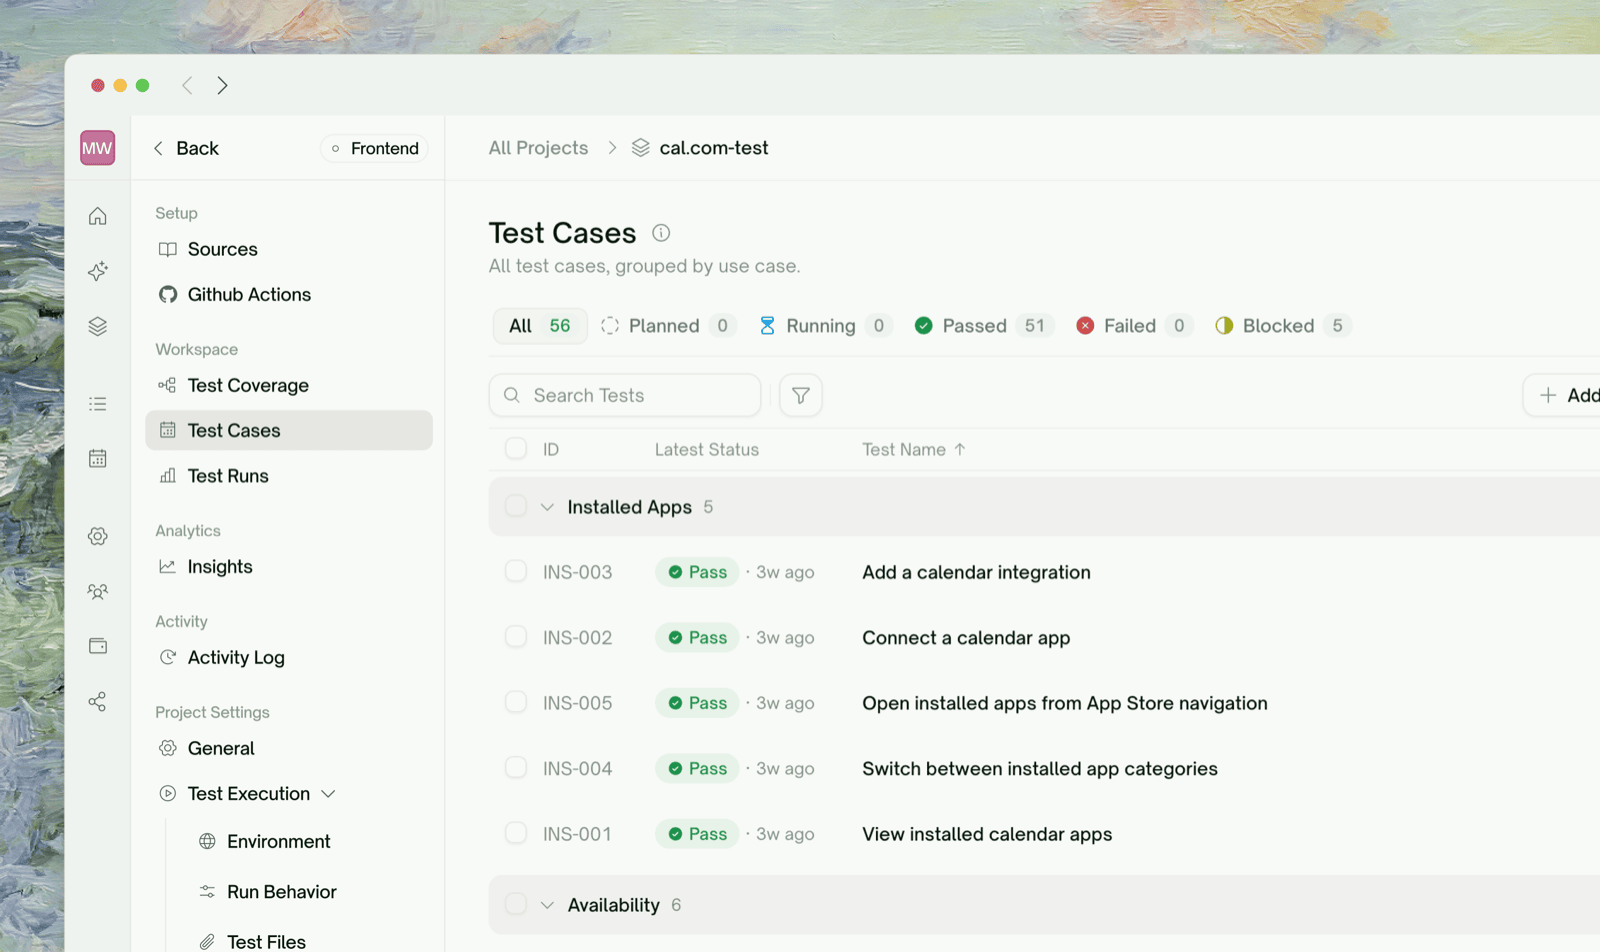
The Test Cases page lists every test in the project, grouped by use case. You can change a test yourself or have TestSprite’s testing agent change it for you. Edits only count once the test re-runs, so saving a single case is Save & Run.
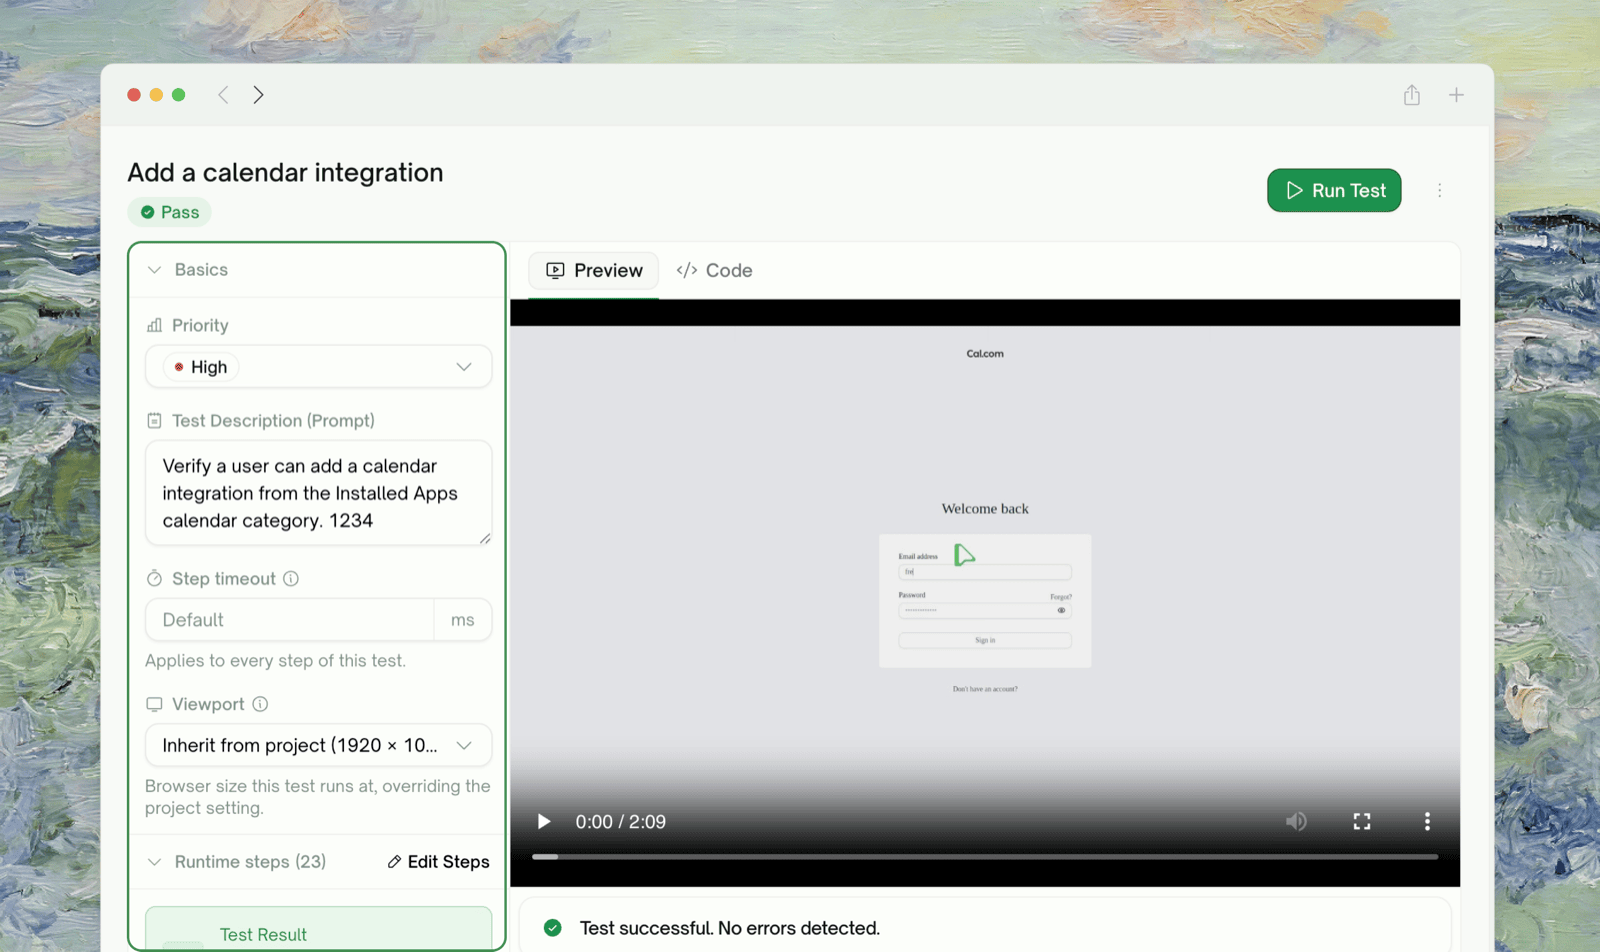
Click any row to open the test case as a drawer over the list, expandable to a full page. What you can change, and where:
What
Where
Priority
The Basics section: High / Medium / Low
Test Description (Prompt)
The Basics section: the natural-language statement of what the test verifies, which the run is judged against
Steps
The Edit steps modal (see below)
Code
The Code tab
Editing the description is the most common refinement. Rewrite what the test should verify, click Save & Run, and TestSprite updates the steps to match and re-runs that test. Be specific:
Before
Verify user can log in with valid credentials.
After
Verify the Sign In link directs users to the login page, thatsubmitting email "test@example.com" + password "test123" lands themon the dashboard, and that the navbar avatar shows after login.
For API tests, Save & Run replays the existing stored code. Click Regenerate under the prompt instead whenever your edit changes what the code must do; it rewrites the code from your edited prompt, then runs.Refine one or two tests at a time, re-run, and confirm before moving on; it’s much easier to debug than editing twenty at once.
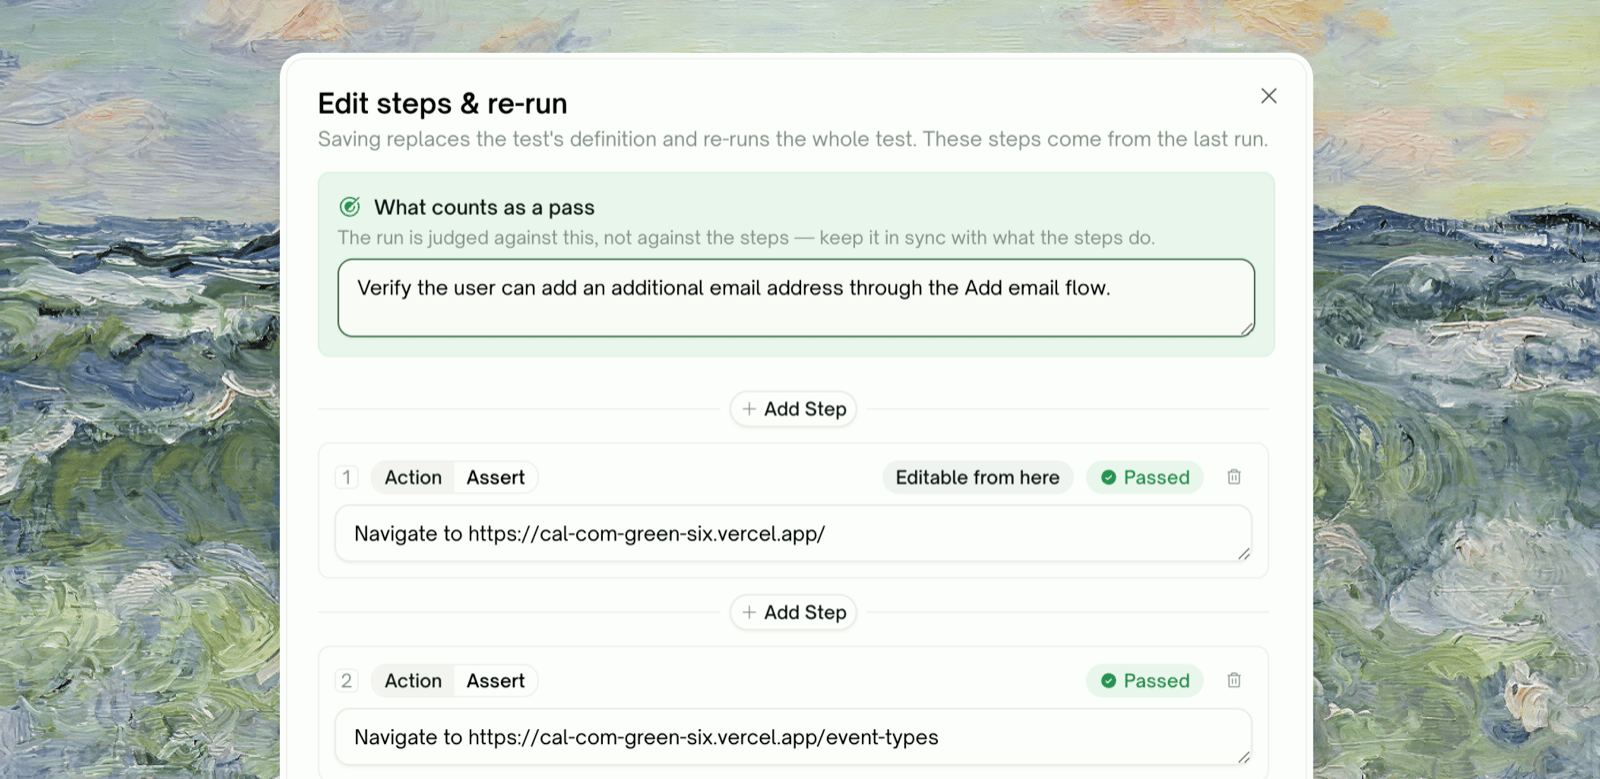
The Edit steps modal lets you rewrite the flow from any step onward. Steps before the one you picked stay locked (they still run, just aren’t editable); everything after is free text. Add, remove, or rewrite steps, each typed as an action or an assertion, and adjust the pass criterion in the same modal. Saving starts a run with the new steps immediately. For UI tests, edited steps run directly, with no code-generation step in between. See Edit & Rerun for the other ways to re-run.For UI tests, Auto-Heal also absorbs UI drift on reruns, so a moved button doesn’t need an edit.
When you don’t know why a test failed, open Chats beside the test and ask, for example “Why did this fail?”, “What is this test checking?”, or “How do I fix this?”. The assistant answers from the test’s steps, the run’s recording, and the failure trace, and any change it proposes arrives as a card you approve first (see Approving Actions). It doesn’t see your application source code or PRD by default.
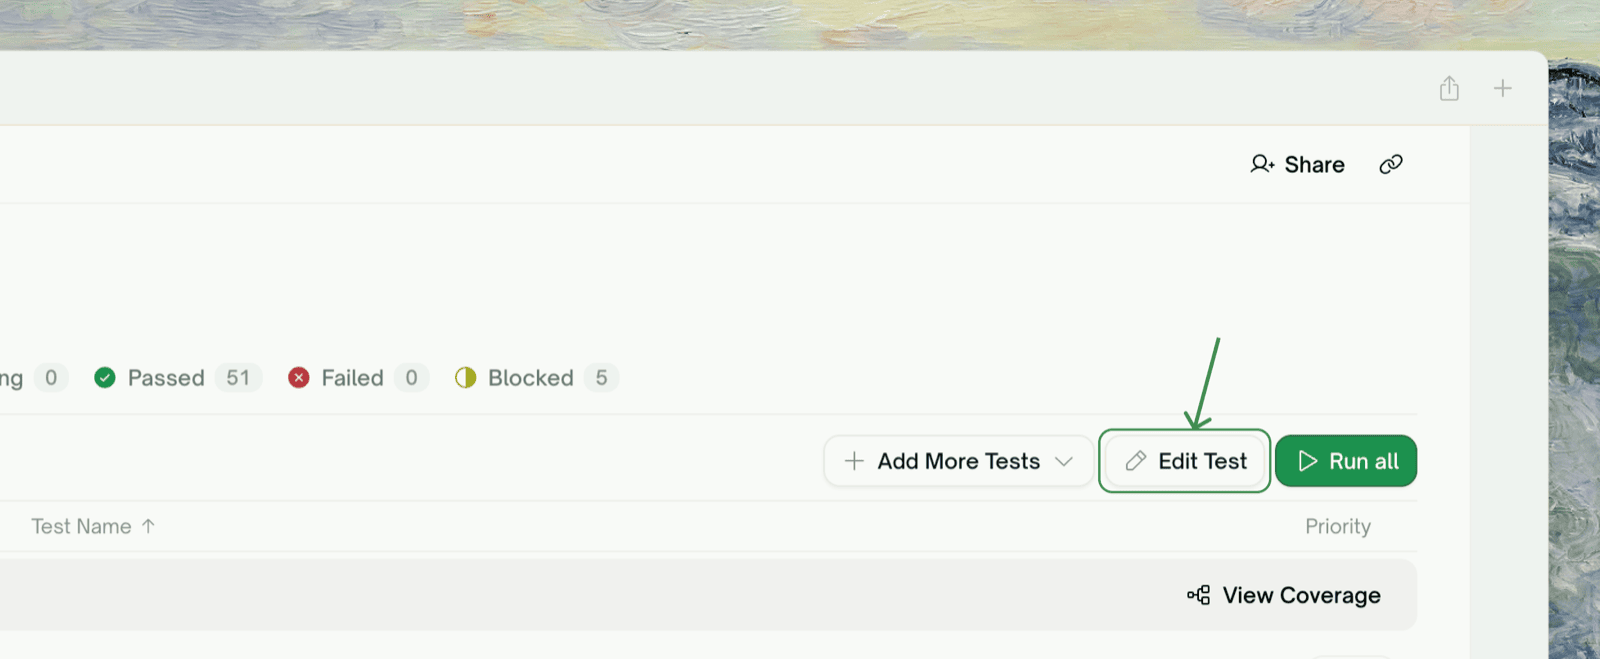
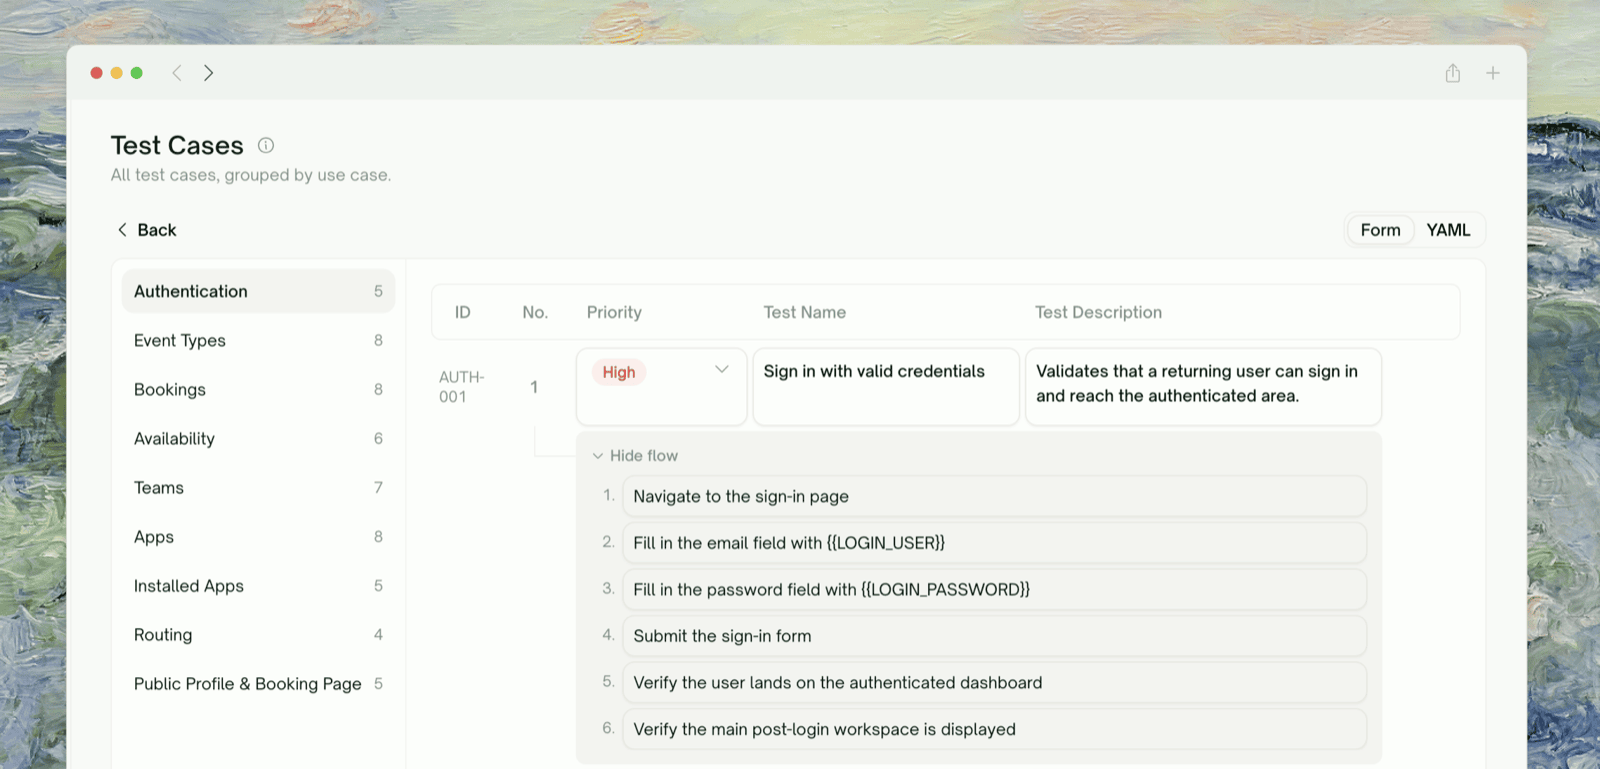
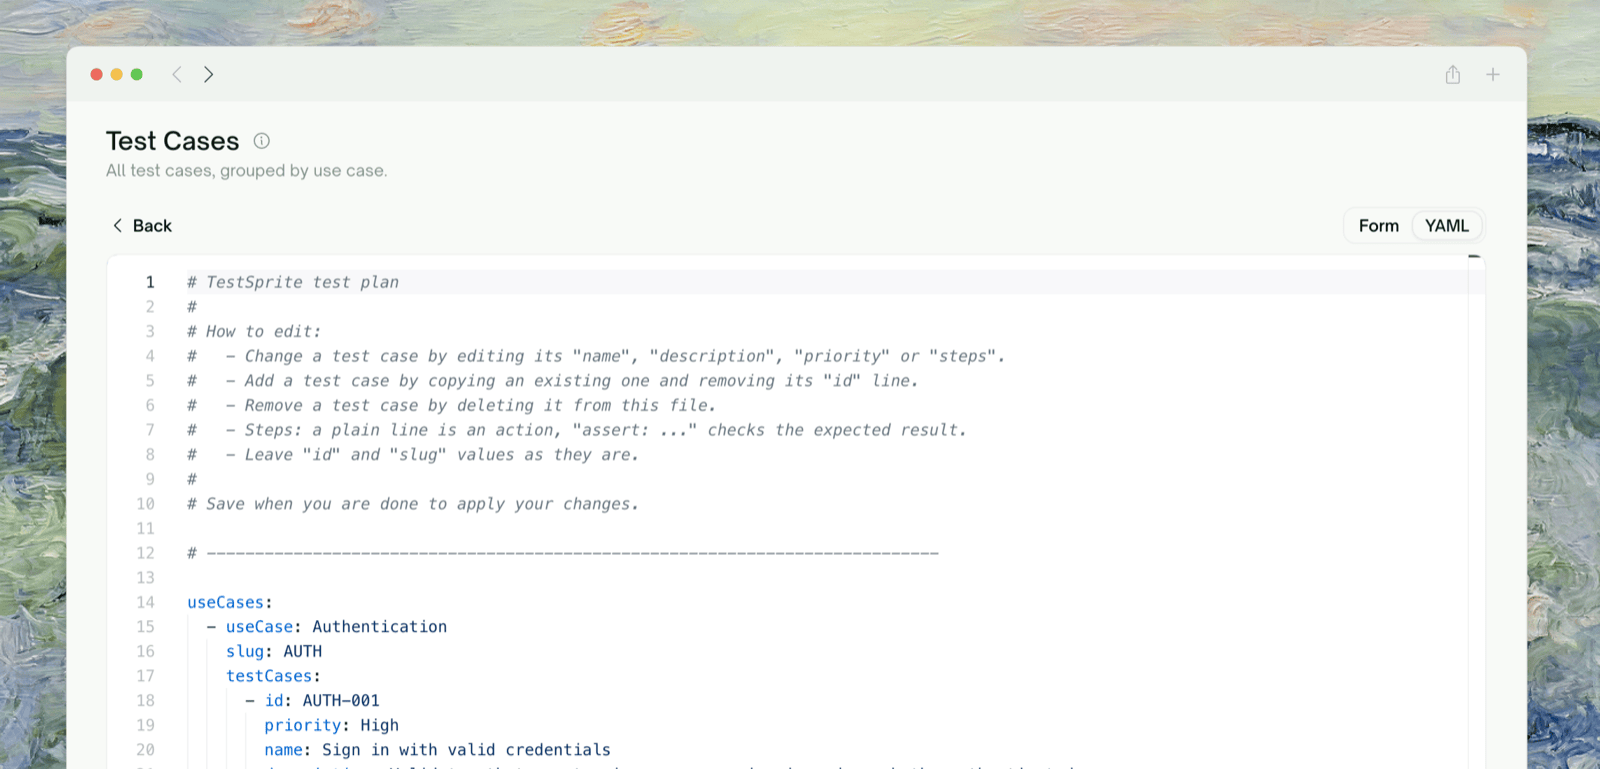
Click Edit Test on the toolbar to open the batch editor: every test case in the plan on one screen, with a use-case nav on the left. It has two modes:
Form mode
YAML mode
Every case as a row with test name, priority, description, and each flow step editable in place. Best for touching a handful of cases in context.Save writes only the rows you changed and reports per case if any row fails, so a partial save never silently loses the rest.
The whole plan as one YAML document. Best for sweeping edits: renumbering steps across many cases, find-and-replace on a URL, or pasting cases between projects.
useCases:
  - useCase: Authentication
    slug: authentication
    testCases:
      - id: TC001
        priority: High
        name: Login with valid credentials
        description: Verify that submitting valid credentials lands the
          user on the dashboard.
        steps:
          - Navigate to the login page
          - Enter "user@example.com" and the test password
          - Click the Sign In button
          - assert: The dashboard page is displayed
The rules (also in the editor’s header comment):
A plain step line is an action; assert: ... marks an assertion.
Add a case by copying an existing one and removing its id line.
Remove a case by deleting its block.
Leave id and slug values as they are; they map your edits back to existing cases.
Switching modes discards unsaved edits in the mode you’re leaving; the editor warns you first.
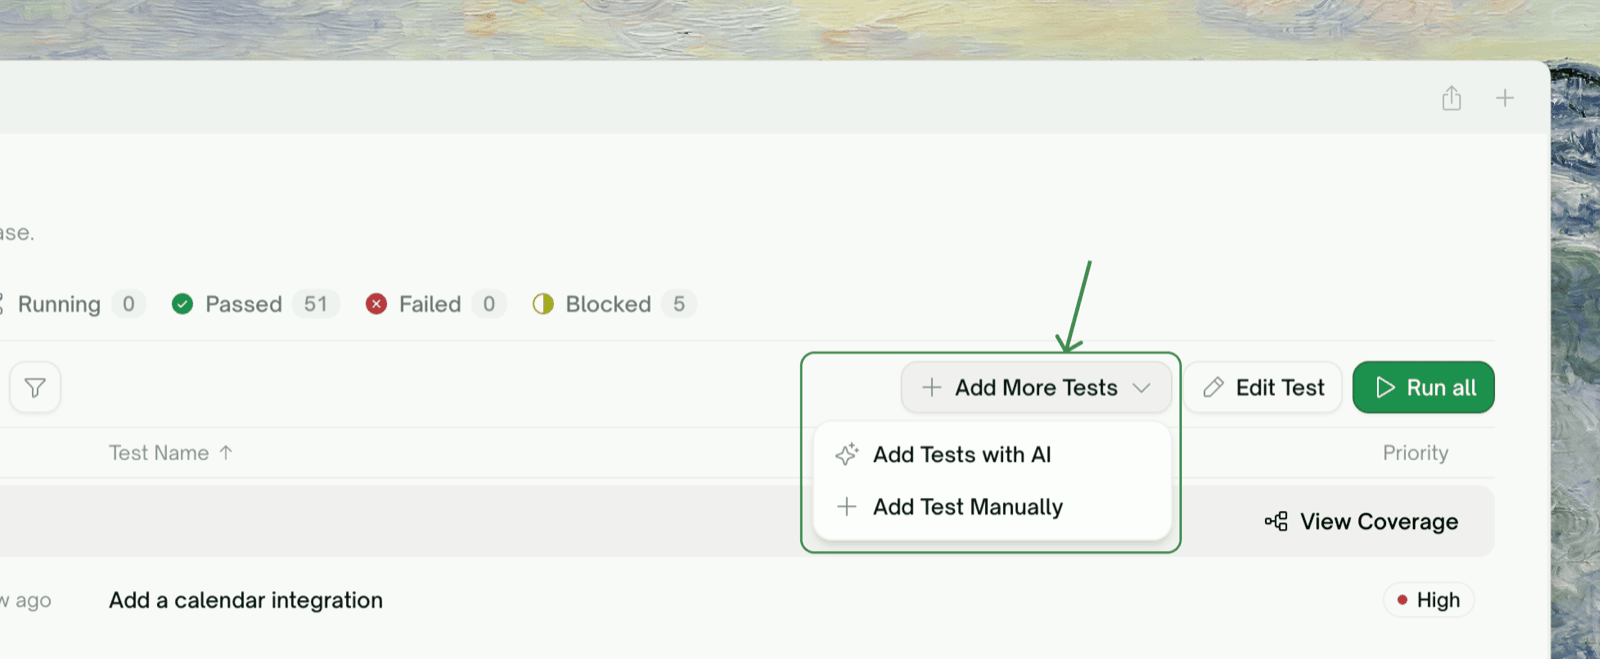
The Add More Tests dropdown on the toolbar has both paths:
Add Tests with AI: describe what you want covered (optionally scoped to one use case), and TestSprite’s testing agent proposes a batch. Before anything is created, you can edit each proposal’s title, description, priority, and steps, untick the ones you don’t want, or hand-add rows.
Add Test Manually: a form with use case, title, priority, description, and a step list (action or assertion per step).
You can also add from the Coverage Map, per use case or with the per-feature ✨ AI shortcut.
When your app has changed so much that the plan is more outdated than fixable (a major redesign, or a new API contract across many endpoints), rebuild it. Open Test Coverage, click Regenerate from sources, and confirm. TestSprite’s testing agent discards the current use cases and extracts a new set from the project’s sources, in the same project. Then plan tests from the new use cases and run them as usual.
Regenerating can’t be undone: all existing use cases and their generated test cases are removed. To keep the old suite alongside the new one, create a new project instead.
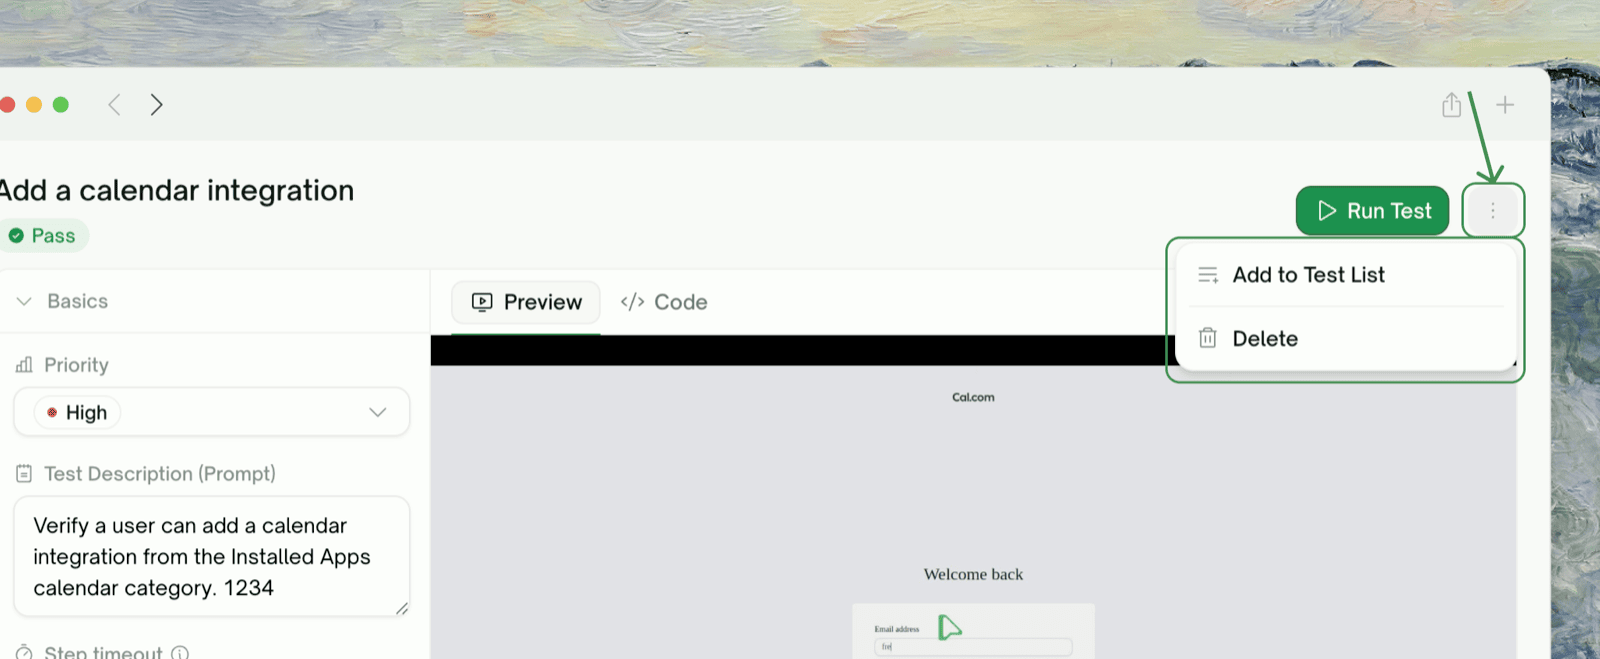
One case: the trash icon in its drawer, or the row’s context menu. A case that has never run is labeled “Remove from plan”; one with run history warns you the history goes with it.
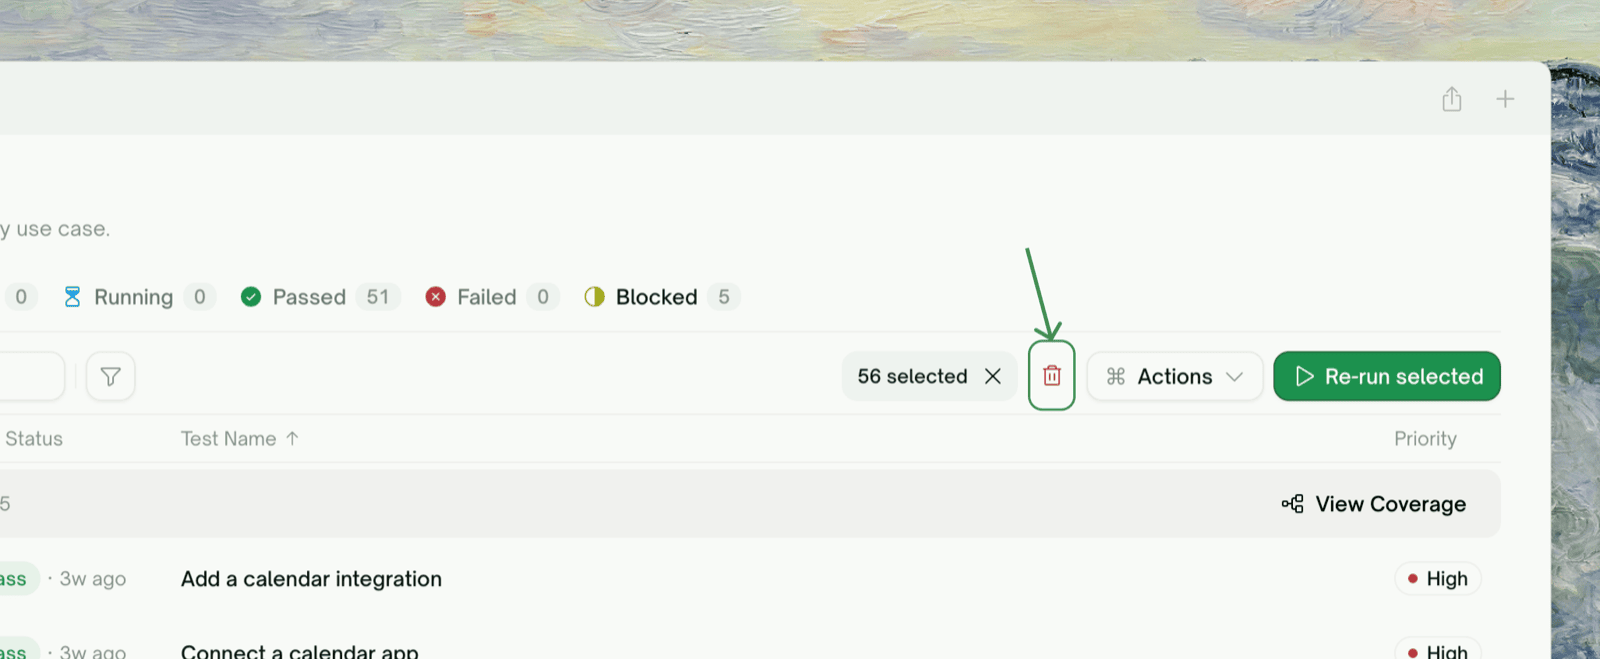
Many cases: select rows and use the trash button in the toolbar.
Deleting a test case permanently removes its run history too. If you might want the history later, deprioritize the case instead.